Carpet to Hard Flooring

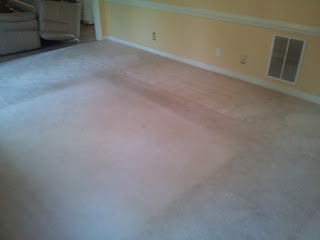
When we first bought the house, it had spotless, almost new carpet. Having 2 dogs and friends constantly in and out of the elements, changed the condition of this once bright fluffy carpet, to matted up stain patches in a matter of months.
The door to the rear deck steps into carpet, and paw prints and the remnants of lost battles to stains were starting to become a norm on the carpet.
To combat the dirt stains, as well as ease some of the cleaning that was needed, almost daily, I decided to install hardwood flooring.
Looking at several options and having installation can make a flooring job quickly climb into the thousands of dollars... I decided to give this a try and save a few bucks.
At the hardware store, the clerk pointed out that the same reason I was going to hardwood, would soon ruin my hardwood floors... dog nails and wood floors don't mix.
After a quick internal bout, I decided to go with "Laminate." It doesn't even sound the same.... takes a bit of the allure from it, but decided on dogproof "PergoMax" in Newland Oak.
First step to the transformation is getting the carpet up. Mine only had one hold-down transition and went pretty easy. I rolled up the carpet, and exposed the padding and tack strips.
Ripped and rolled up the padding in similar fashion to the carpet, and removed the tack strips to prep the surface for the laminate.
Had to make sure to remove ALL staples left behind by the padding. Not doing so can cause bumps or uneven surfaces on the finished floor when the new plank is laid over top.
Clean and vacuum entire surface to pick up dust, as well as anything that may potentially unlevel the finished floor.
Pick a direction for the planks to run (usually the length of a room) and start laying the planks down.
The leader planks in this case needed to have the locking "nose" piece trimmed off to sit flat against the wall.
Work your way down the wall, clicking the pieces into each other. Once you get to the end of a row, cut your plan to size, and begin the next row with the remaining piece of that plank to avoid excess waste and give the floor and more realistic "wooden" look.
This type of floor does not need to be nailed or glued (unless being used in a kitchen or bathroom, and then for water proofing purposes), and floats on the floor, with gaps on all sides to account for any expansion/warping.
At the end of the day, I spent approximately $700 in materials and about 9 hours of labor over the span of two nights to complete, but the results speak for themselves:
 |
| Work all the way down to the end of the room to complete |
 |
| Finishing strips and thresholds complete the look and maintain the "floating" design of this type of floor |


